Showing posts with label Upcycled. Show all posts

December 28, 2019

My Tree Skirt Project

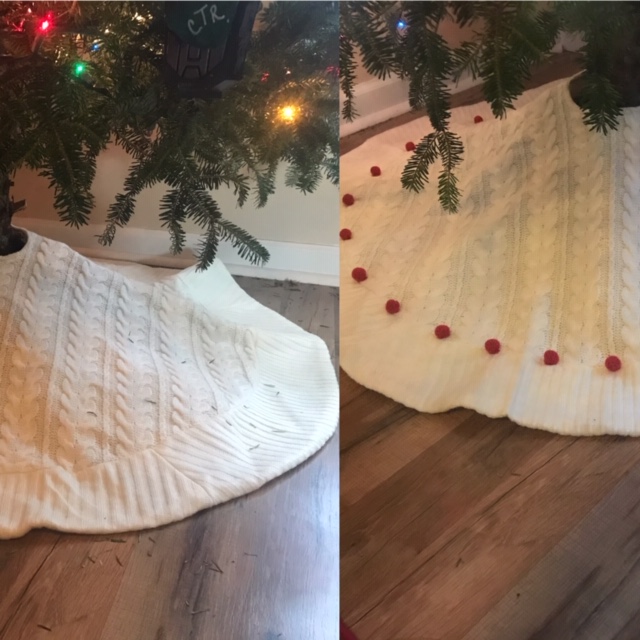
Before/After

I got a new tree skirt this year to match my stockings.  However, I just wanted to add a little bit of red to it.  I can't knit or crochet, but I really wanted some popcorn thingys on it to match my stockings.  Well, I came up with my own solution and did it yesterday! I love it so much!!


I couldn't get a complete before picture, because I was just too excited to sew on my first pom pom ball.


How I did it:

I wanted my pom poms to be the same texture as my tree skirt, so I didn't want to make poofy yarn pom poms.  I had some sleeves of a red sweater from my craft room that I used to make re-purposed stockings years ago (thankfully not in the storage unit).  They matched perfectly! All I needed was, thread, scissors, and I used those packaging pillow things as the stuffing of my pom poms.  Reduce, reuse, recycle - bonus!


I used a fourth of each square in one pom pom

I used a spool of thread for the size of my circles.

I rolled up the plastic, placed it in the middle of the circle, and stitched around the outside, then pulled the stitch closed to form my pom pom. 

Then, I sewed each pom pom on the tree skirt. 

If you can't knit or crochet, now you can make your own pom poms to add texture to a fun project!

November 22, 2013

Refashion Friday - Dress Redo


So, my little sister brings bags of clothes to my house (after taking them to my older sisters house to go through to see if I want any to wear, or I want any to refashion, and then I sell the leftovers in a yard sale.  She is shorter than me - so rarely do dresses and such ever work - but they are perfect to refashion for Mallary! 

Mallary is less than thrilled to take pictures, but whenever my sister brings clothes, Mallary jumps in to say, "You could make me a dress out of this!"
My method:  First, I cut the pieces apart.  Then, I ripped out the pink seams from the elastic piece.  Next, I cut and sewed the elastic to the width I needed. Then, I took up and took in the pink top.  Then I attached everything back together!  The best part is I didn't even have to hem the bottom! I just left it a little longer - then she can wear it next year too. 


Honestly, it isn't perfect.  I didn't have much time and wanted to finish it quickly.  Let's just say I would not have gotten a very good grade in my sewing class in college on the arm hole parts!  Oh well!  It's a dress (Mallary doesn't have very many) and it was free! 


I do believe she can use this dress in any season.  Bonus!

January 25, 2011

Wooden Spoon Puppets


My sister gave me some wooden spoons with faces drawn on them over a year ago, and I have been wanting to make some really cute puppets with them for my kids. I also took two old, yucky looking wooden spoons out of my kitchen drawers for them to use too. Yesterday, I decided to just let them make their own, and they loved it!! Like, loved it so much it was the first thing my daughter asked for this morning when she came downstairs this morning, "Where's my puppet?" Last night, they loved playing with them!
My husband is actually pretty artsy when it comes to drawing, but he didn't do a very good job on his puppet above. I even gave my puppet some moles.

This is what my daughter, Mallary actually drew for her face, but I used the other side to put her bangs on - she told me she had to have bangs on hers. It was really cute, Mallary likes playing with my puppet, she was playing with my puppet holding Jonah's puppet. I walked in the living room earlier this morning, and her puppet and my puppet were dancing together. I try to dance with Mallary in the living room all the time, but she always tells me to stop! Trevan also had to draw arms on his and Jonah's. "They need arms to hold their light sabers!" He kept saying to John, while he would make his puppet hit John's, "Ha ha, you can't hit me back because you don't have any arms!"
The whole family! I had envisioned making such cute puppets, but the kids definitely enjoyed this more!

I think The Dollar Tree sells a pack of wooden spoons - for one dollar! Or just pull the old one's out of your kitchen drawers! Cheap and fun activity for your kids!!!

December 21, 2010

Crafting Christmas Gifts

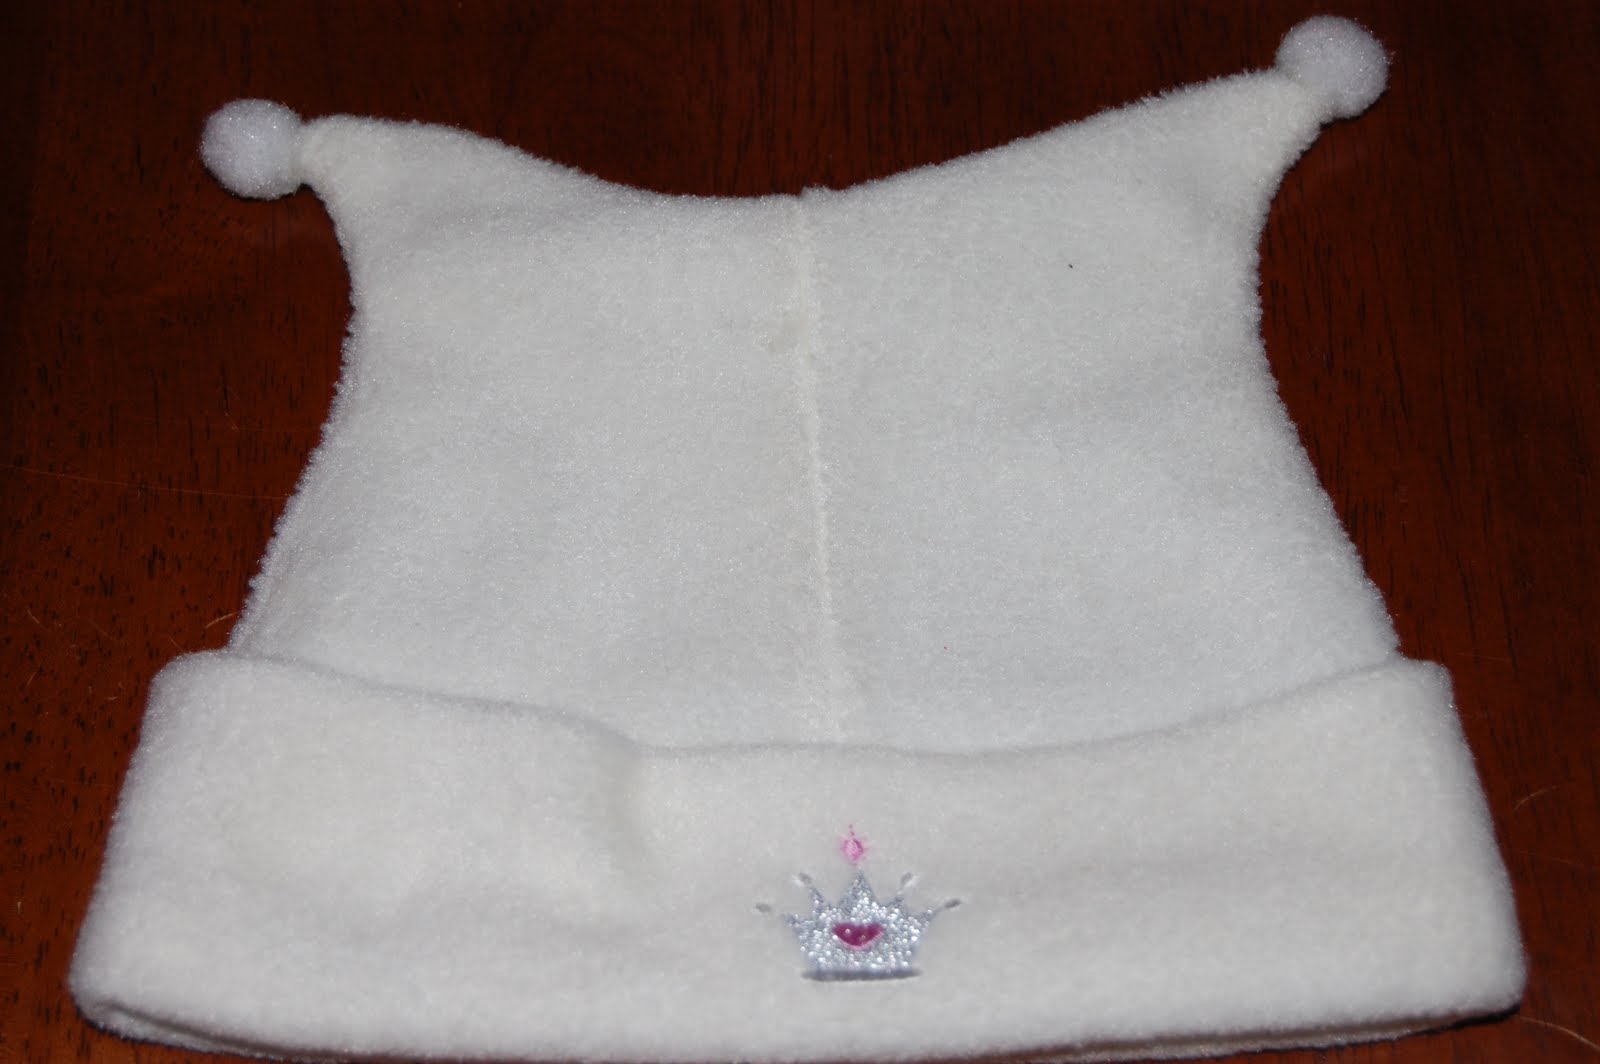
A friend recently hosted a "projects anonymous" crafting time at her house to help all of us get to some of our many projects we've started and not finished. I went through my unfinished alterations pile that's been around as long as I've had my work room downstairs (a long time...). I found this hat that I had bought, or my my mom had bought (I really don't remember...), but I had planned to re-do it to cover up the princess embellishment. I'm just not big on princess stuff, I guess. Anyway, that was when my daughter was very little, she's now three. So, I thought I would finally re-do it and give it to another little someone on our Christmas list this year.


I originally was going to cut off the points and round off the hat, but I think it would be too small then.


I made a felt flower with stuff I had on hand to cover up the embellishment.

Demonstrated here on Jonah. He hates stuff on his head, so I was surprised when he would keep it on his head.


I think he likes the hat, little does he know he's giving it to his cousin for Christmas. :)

September 7, 2010

The Kid's Closet

I love a clean, organized closet. But, with kids, it's next to impossible to keep their closet clean and organized! We don't have a play room - all of their toys are kept in their room, except one small basket in the living room. So, we have to squeeze a lot into a little space. Behold, their closet; both function and fun:


When I moved Mallary into Trevan's room before Jonah was born, we had to make room for girly toys, and we were needing more space. We had all these big toys that didn't fit in the toy baskets in their room. So, my husband offered to build shelves. We had an old, cheap, entertainment center that we bought when we got married that was just occupying space in our garage. My husband just tore it up and made the boards work for the shelves. I also encouraged him to do a little dumpster diving in the construction waste that is around us, and he found the wood to make the brackets for the shelves. He finished them with paint we already had. I was ready to go to the store and just buy some shelves, and my husband saved us money! They are wonderful.

(An example of my OCD: What stands out to me in this picture is Trevan's shirt on the end, not hung up in the right place... But, that's okay. At least it's hung up...)

Related Posts Plugin for WordPress, Blogger...