Showing posts with label home canning. Show all posts

September 19, 2013

Make and bottle your own grape juice

 
On my Bucket List 'to do this year' was to pick grapes and can grape juice.  I wasn't able to do it last year and I really wanted to make sure it happened this year!  It did!  Yay!  It feels nice to actually get something done that you would like to, you know?  However, John had a mix-up with his days off, and we ended up not being able to take off the days we were going to go pick, but my dad was kind enough to go pick them for me and had them ready for me to start turning into juice when I got there.

Really, it's super easy.  I told my dad I wanted him to teach me before he died.  :)  Although, I watched my parents doing it all growing up and probably could have done it on my own, I thought it might be nice to have a mentor around.  Now, I know I can do it by myself and will have this blog post to teach my kids if I'm not around someday to do it...

I canned grape juice a few years back a different way.  I thought I blogged about it, but I can't find the post with pictures....  I tried a different way than my parents normally did.  You put the grapes in a jar with sugar and water and seal it.

This year, I wanted to do it the way my parents did it, basically making a grape juice concentrate.  As I was making it this year, I wondered if you could just freeze what we made... We'll see about that next year.

This grape juice has no sugar, it is pure grape juice.  Growing up, when we had company for dinner we always served grape juice mixed with 7-Up or Sprite - basically our own sparkling grape juice!  Now, I have some for my house!!!

There are a few different ways you can make grape juice, a lot of people just do it in a pot on the stove, but my parents have a juice maker thingy.  Yes, that is the technical term...

How to make your own Grape Juice (really grape juice concentrate) 

1.  First take your grapes and wash them.  Really well...

2.  Remove your grapes from the stems.  Into the top of your grape juice maker thingy... the steamer section.

3.  Fill the bottom part of the steamer/juicer to the line and bring it to a boil on the stove top.

4.  Assemble all 3 parts of steamer with the grapes on top, and let steam until grapes release their juice and juice starts to fill up in the middle portion of maker.

5.  Heat your jars and lids on the stove upside down until hot.

6.  Fill jars (they must be hot) and put on lids and turn the lids as tight as you can make them go.

7.  Let cool, and store!  Make sure they sealed!  (It is super satisfying to hear the lids seal with a pop when you are canning!)

8.  Repeat as many times until all your grapes are gone.

9.  Once one batch stops releasing juice, take the pulp out and strain it over a bowl, you will get a little more juice to recycle through.  Add your next batch of grapes to steamer.

10.  Enjoy!

As the grapes steam they release the juice.  Every now and then stir your grapes.  If you don't have enough juice to fill a jar recycle that juice through the top where the grapes are, to help the grapes give more juice. 


bottom part of the steamer

Juice maker thingy assembled

See how there is juice coming up through the hose?  That means the middle portion has juice ready to can.  My dad is giving the grapes a stir.  Jars getting hot ready to fill.

Jars in boiling water with the lids

Filling the jar!  See all the grapes ready to go in the next batch?

My juice!!!  These are glass jars that my parents have bottled juice in in the past.  Back in the day when most juice jars were glass my parents would save them to can in later. 
So one bushel of grapes made this much grape juice, plus two small Snapple bottles....

Grapes are pretty cheap, but if you go picking during the gleaning stage - getting the last grapes on the vine - they are super cheap. 

July 4, 2013

Freezing Strawberries, Strawberry Jam, & Canning Strawberry Lemonade Concentrate

 
We picked about 80 pounds of strawberries this year.  I wish we could have picked more, but picking strawberries with kids is sometimes not very fun...  I never (read 99.999 %) buy frozen strawberries at the grocery store.  I try to pick enough to last us through the year, but I'm not sure if we are going to make it through the year this time...  So sad... 
 
This year, with that 80 pounds, I made some freezer jam, bottled jam to eat with peanut butter sandwhiches, some strawberry lemonade concentrate, and we freeze the rest of it.  We use frozen strawberries for crepes, waffles, lemonade, shakes, smoothies, to eat with plain yogurt, and sometimes strawberry desserts and such.  I love strawberries! 
 
I grew my own for a few years in a small little patch, but since I've found this place to pick at, it isn't worth growing my own when I can pick them this cheap, and use my small garden plot for other things. 
 
The funny thing is, I'm allergic to strawberry plants, and I never realized it until a few years ago.   The allergy has gotten worse as I have gotten older - I have to drug up an hour before I pick, and I wear long pants, a long sleeved shirt, and gloves!  It's pretty funny!  But, not being able to breathe on the way home from picking a few years ago was a little bit scary, so I don't care if I look a little ridiculous!
 
My parents and grandparents grew strawberries and we always had to help weed, pick, cap, freeze, etc.   So, I never thought about someone not knowing how to do all that or someone having to look up how to do it until people asked me what to do with the berries they pick.  I've been asked so much, one day I thought I should do a blog post about it.  Some of my pictures were deleted, but here goes...
 
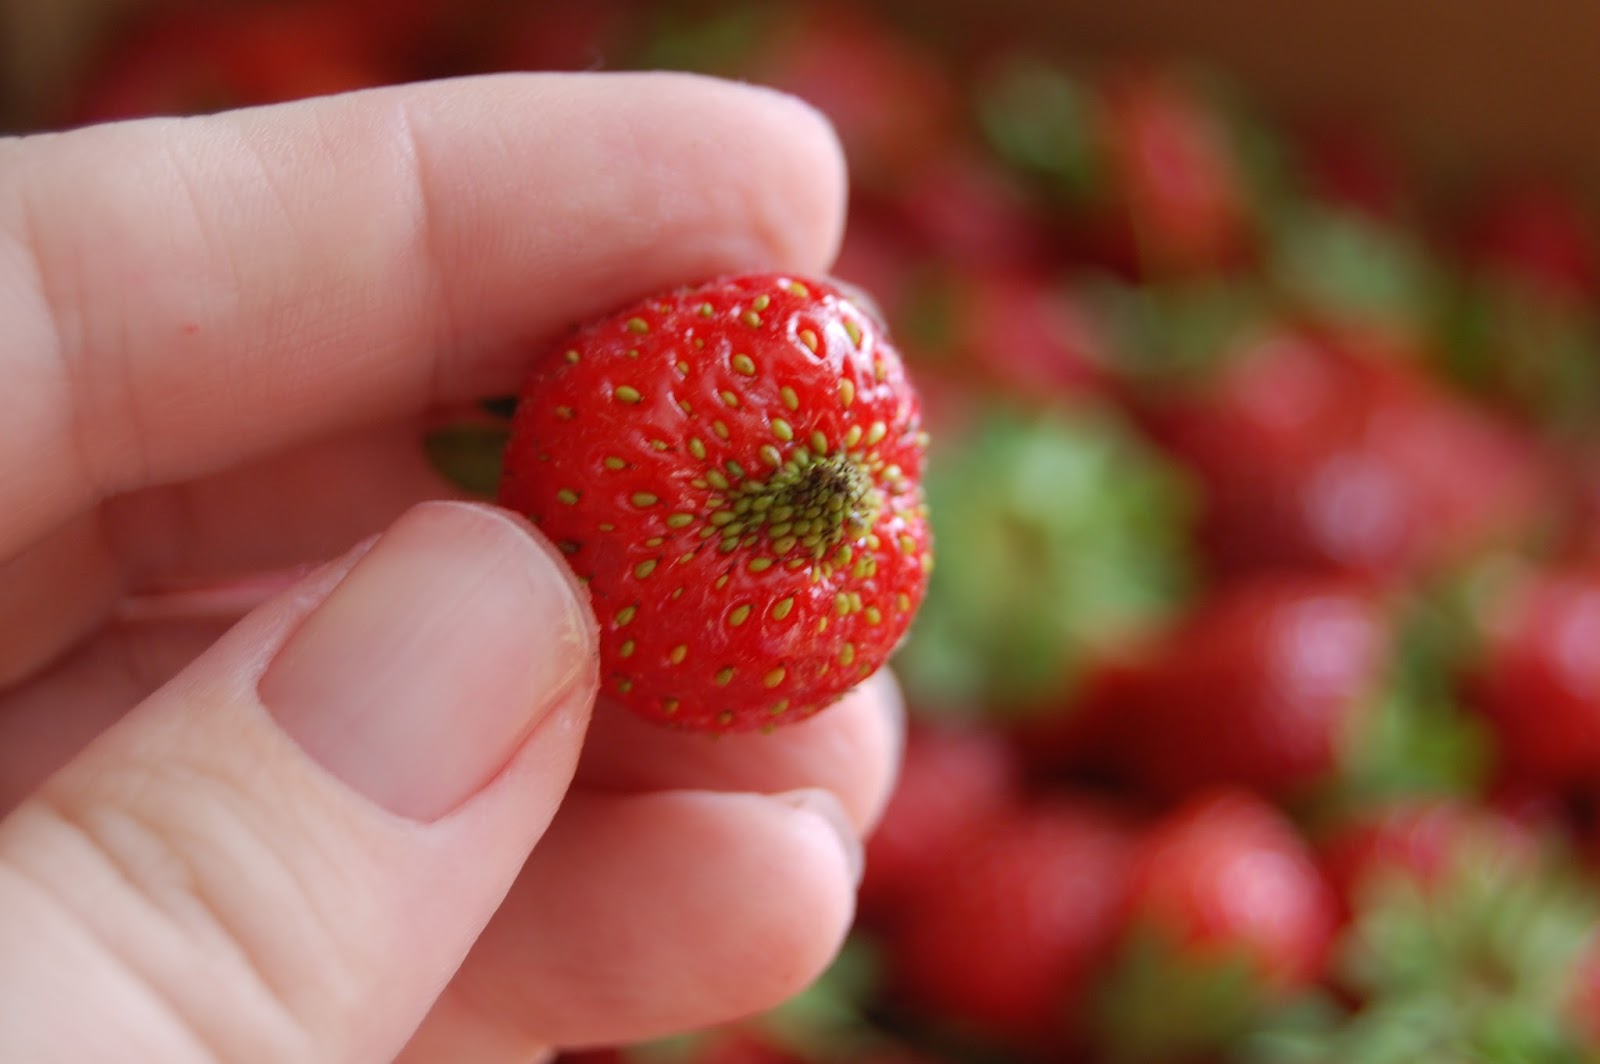
1.  Bigger berries aren't always better!  I've picked with lots of people, and they always want to go for the large pretty perfect ones.  I think smaller berries are sweeter because they have absorbed less water.  There are also lots of odd shaped berries out there that others pick over.  You don't see those in the grocery store, because those most likely get sent to the plant that makes the jam.  But you can pick those too!!  However, maybe not like the one below.  That was one of the funniest berries we saw this year.
 

2.  Strawberries continue to ripen after you pick them.  You can't leave them sitting too long without doing something to them or they will go bad.  Sometimes you pick the ones that are almost ripe, because you know they will be ripe by the time you get to them.  Don't pile too many strawberries on top of each other or you bruise them. 

3.  To prepare your strawberries:  My mom used to clean the kitchen sink and fill it with cool water, pour some strawberries in at a time and get the first layer of dirt, etc. off of them.  I use a very large bowl and do the same.  After that, I rinse them off in a strainer.  Put the strainer on  plate and take them to my work space.  I have a bowl to put the caps in, a bowl to put the capped strawberry in, and a bowl to put the sliced strawberries in.  That is if there are lots of helpers to do an assembly line.  I usually cap and slice my strawberries and put them in a bowl, leaving out that other bowl. 

4.  You need to make sure to cut off any unripe parts of the strawberries (green or white), and then any hard places at the bottom of the strawberry, no one wants to bite into that:  Below are examples of hard places at the bottom of the strawberry that you should cut off:

 
5. My five year old was better at capping than me.  She used an actual strawberry capper, and I used a knife.  She wasted a lot less than I did, but I also cut off bad places...

Mallary's caps
ahem... my caps...

 
6.  If you are freezing your berries, you add a little bit of sugar to make a syrup.  Use however much you want.  When John helps me he tends to add a lot more than I do... He didn't help do any this year, so these have a little less sugar!  We have tried to freeze the berries whole, we've also used containers, we think sliced berries and using plastic bags keeps the berries fresher lasting longer. 
 
7.  After the sugar dissolves divide into plastic bags.  We like to store them like this, so they thall faster, or we can break some off easier for shakes without using the whole bag:
 
It's really sad to see so many already gone and it is only July!!!!  These piles all used to be even and full!
 
This year we made some strawberry lemonade concentrate.  Basically, you just find a berry lemonade recipe you like, leave out the water, and you can can it (bottle it) to have your own concentrate.  This one was good, but I have had better, so we are going to experiment with some other recipes to find the best one, then we'll share.  I only canned this much concentrate with a little extra to drink right then.  It ends up being one part concentrate to three parts water/sprite/seltzer.  But, it was fun to try it, and Mallary, my five year old, loved juicing the lemons on our electric juicer!


This was all the jam we made!  A lot!  We made some to give as gifts too - those are the little jars.  We also reuse glass salsa jars and such too.  My jam was frothier this year because I left out the butter (which cuts down on the froth) to have a bit healthier jam. 


For freezer jam, I just used all the empty freezer containers that we had emptied throughout the year.  That is a good way to gauge how much you actually use.  I buy the freezer containers, but my grandma just uses any plastic containers (yogurt, sour cream, etc.).

I was also planning on trying some new yummy strawberry recipes, but I didn't.  Since I did most of this by myself (usually I wait for John to help in the evenings, but our evenings were to busy), I was too tired by the end of the night to do anything else!!! 

Did you do anything fun with your strawberries???


Related Posts Plugin for WordPress, Blogger...